I just can’t even express how excited I am to share this post with you. It’s so big and important that I’m splitting it into three separate weeks’ worth, so stay tuned!
One of the best things I’ve ever learned to do is to use a planner. Now, maybe you are already super organized when it comes to your schedule and appointments and keeping your kids’ activities straight, and if so, yay! It’s possible you don’t need this information.
But it could be that in the last year you have missed more than one appointment, or forgotten a birthday, or even left a kid at soccer practice long after he was supposed to be picked up (voice of experience right here!). If that’s true, your system, or lack thereof, isn’t working. I’d like to introduce you to the joys of systematic planner usage. I’m telling you, this is life-changing stuff!
Now, I’m going to tell you right off the bat that electronic calendars don’t work for me. My husband keeps his schedule on Google calendar on his phone, and it works great for him, but I’ve tried and tried to make it work, and there are several things about electronic scheduling that make me crazy.
First of all, I need to see the whole week at one time. I can’t just look at today and be okay with that. I am a very visual person, and I need to know and see the big picture of what’s happening over the course of the week. It helps me to know which days are going to be super busy, and gives me a heads up about anything that I need to plan ahead for.
I also really believe in color-coding when it comes to my planner. I think there’s probably a way to do that with the calendar on my phone, but it would take me a lot longer to figure that out and highlight things in different colors than to just whip out my pens and write or highlight what I need to in my paper planner.
Finally, I want to be able to go back and look at previous years’ planners and see the wonderful, important things that happened. My planner has recorded births, deaths, prayers answered, first days of snow, breakthroughs, and incredible vacations. I keep my planners from year to year and they are diaries of my life. I don’t keep a journal, per se, but I keep my planners. I can’t do that electronically.
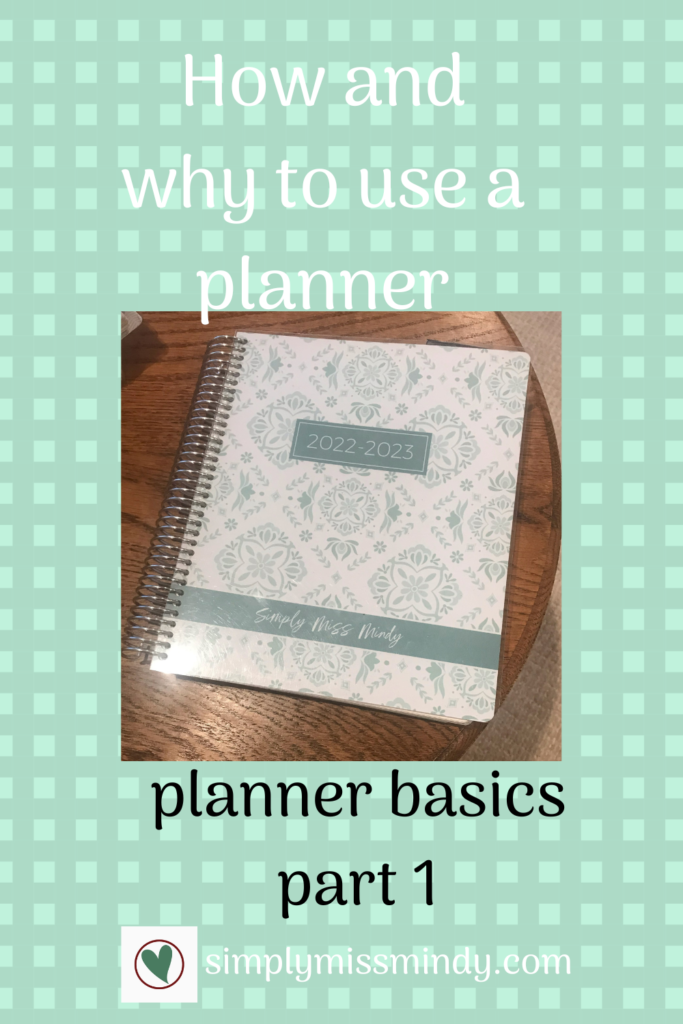
So let’s start with the basics: what planner is best? I know this is very individual, and I can only tell you what works for me. I have tried so many, and over the last several years I have settled on planners from Plum Paper. You can look at what they have here: Plum Paper. I am not affiliated with them at all except for the fact that I love their planners, and I’m not being sponsored by them in any way for this post.
Why do I love them? Let me count the ways.
First, they are fully customizable. You can choose your size, layout, the number of months, which month to start with, whether you want weekly, daily, or monthly, and many more options. I usually add pages for shopping, passwords, and cleaning, but we’ll talk about those things in a later post.
As I said, I like a weekly format because I need to see the entire week at once. I also want my week to start on Monday, because after all my years in education it just feels right to me. You can start on Sunday instead if you choose.
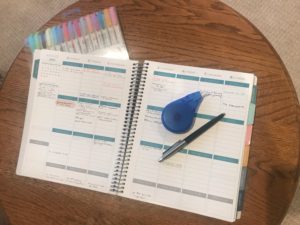
I use a vertical format called M/A/E. The days of the week are listed from left to right, and each day has a column with three sections. If you don’t customize it, those sections are labeled Morning, Afternoon, and Evening; but I suggest customizing to better reflect your own priorities. Last year my planner’s columns were schedule, to do, and household; this year they are schedule, blog/vlog, and to do/call. I think next year I may do schedule, to do/call, and today’s verse, because right now there isn’t a designated spot to put my daily Bible verse and I don’t end up using the blog/vlog space as much as I thought I would; I put those items in to do/call along with the other things I need to accomplish. (If you want to read about how I do my daily Bible study using the verse of the day, you can read it here).
Here’s a picture of one week from last year’s planner:

I also start my planner in August and run it through July. Why? I guess because I was in education for so long, and I still have kids in school, so the year for me really runs according to the school schedule. You can start your planner on any month you choose, and have it go for as many months as you choose.
So let’s get into the good stuff. How do you simplify your life using your planner? In just a few steps you can set yourself up for success!
1. Spend some time before your year starts putting in all the important recurring dates.
Like I said, my year starts in August, so I spend time in July putting in birthdays, anniversaries, and holidays. I also put on my to-do list the first of April to order my new planner! Why so early? Because I usually already have important dates to put in for August and September by then, such as six-month dental appointments. I never want to be without the ability to write things in, or else I WILL forget!
2. Learn the joys of color-coding.
I do this two ways: with pens that have different color ink, and with highlighters. Why is it important? The visual of seeing different things in different colors helps your brain keep things straight. I use orange for appointments, pink for birthdays/anniversaries, green for church related events, and blue for choir things. But you do you!
3. Write every schedule related item in your planner.
This is tricky, I know. It’s a habit you need to get used to. Remember, routines develop habits, and habits are maintained by routines. You need to get into the habit of checking your planner each night before you go to bed (so you remember what time to set your alarm for!) and each morning when you wake up (so you know what to expect from your day!). And most importantly,
4. Always, always carry your planner with you.
I suggest that you develop the habit of putting your planner in your bag every time you leave the house. Once you have started to keep your schedule straight, you don’t want to derail your efforts by not having it with you when you need to write something in!
I don’t carry my colored pens or highlighters with me, by the way. I use a simple pen with black ink when I’m out and about, and when I get home I highlight anything I’ve added throughout the day.
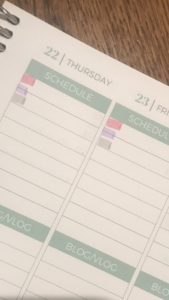
A couple of other things I put in my planner as soon as I’m able to: the school year schedule. I have kids in three different schools this year, and of course the days off and vacations don’t always coincide. I need to know which kids have school which days, so before school starts I go to each school’s website and download the school year calendar. Then I transfer the information into my planner with my highlighters. Each school has a color–this year they are red, purple, and gray, taken from the school colors–and I make a small mark (in the schedule section) for each school on each day that school is in session. No mark, no school. Here’s what it looks like a couple weeks from now:

Just a small mark is all I need to visually tell my brain that all the kids have school on the 23rd and 24th. I can still write other appointments or schedule items in the space, because it’s highlighter, so it doesn’t interfere with anything else I need to write in.
I’m going to end here for now, because there’s so much more about planner usage that I want to tell you, but I don’t want to overwhelm you, especially if this is all new to you! So look for another post next week…….TO BE CONTINUED!
Do you have a planner you particularly like? Let me know in the comments!
Blessings, Mindy
